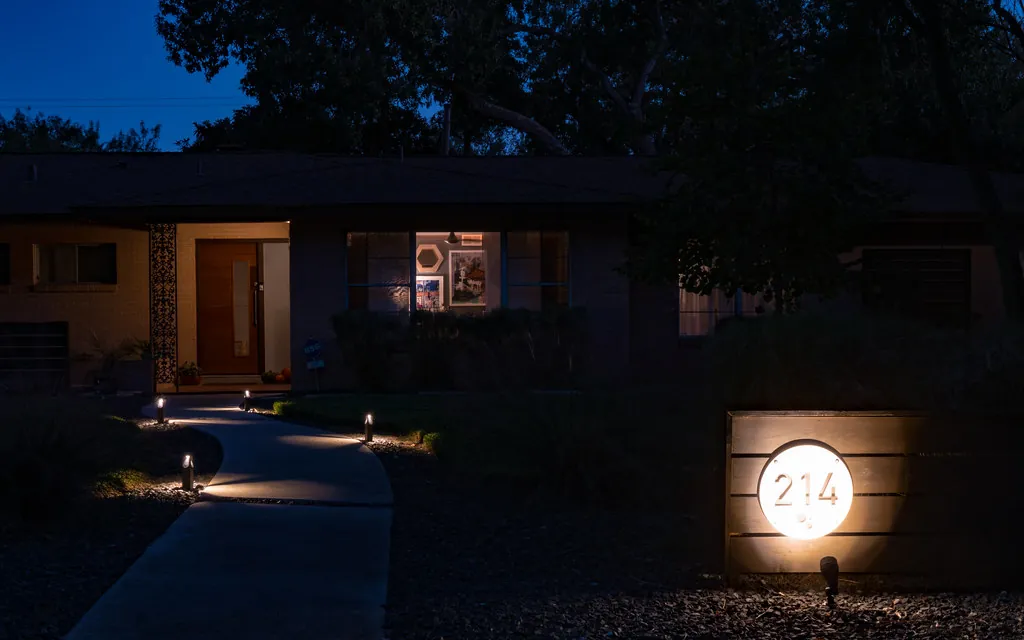
Path light spacing is the difference between a walkway that looks designed and one that looks like a landing strip. Get it right and guests see a gentle series of pools leading to the front door. Get it wrong and you end up with glare, dark gaps or a row of little lights marching in a straight line. The good news is that a few rules of thumb cover nearly every Texas front walk, garden path and driveway.
Path light spacing rules of thumb
Start with these, then adjust on site after dark:
- Space fixtures 6 to 10 feet apart measured along the length of the path.
- Let the pools of light just touch or slightly overlap rather than lighting every inch evenly.
- Stagger fixtures on alternating sides instead of placing them in matching pairs.
- Set fixtures 6 to 12 inches back from the edge inside the bed, away from foot traffic and mowers.
- Start and end with purpose: light the beginning of the walk, any turns or level changes and the arrival point.
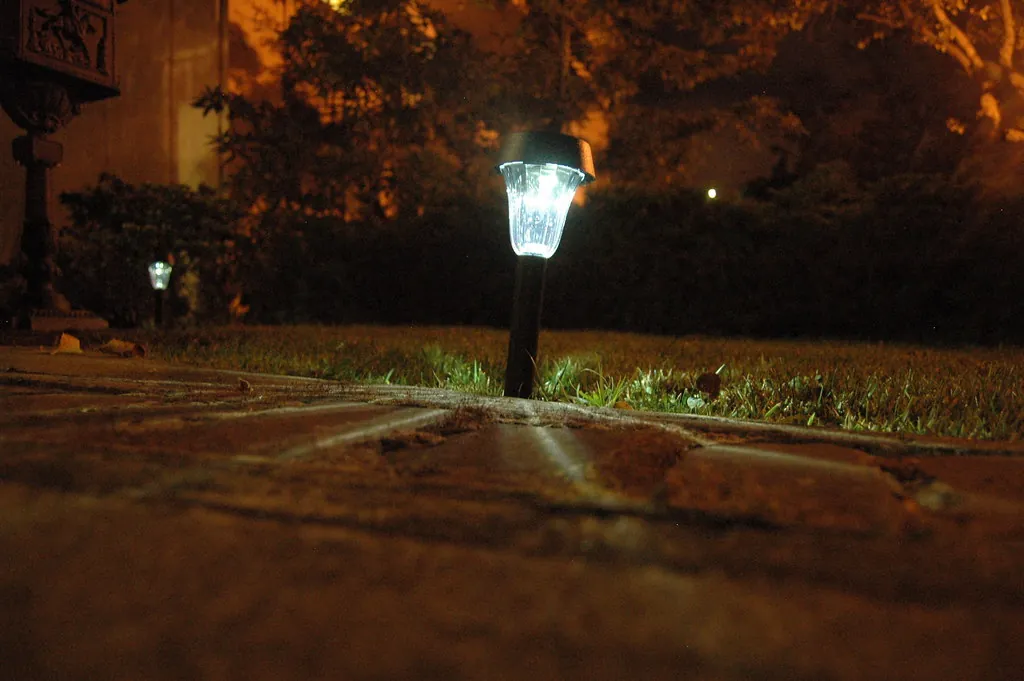
- Keep lamps low and shielded so you see the light on the ground, not the bulb.
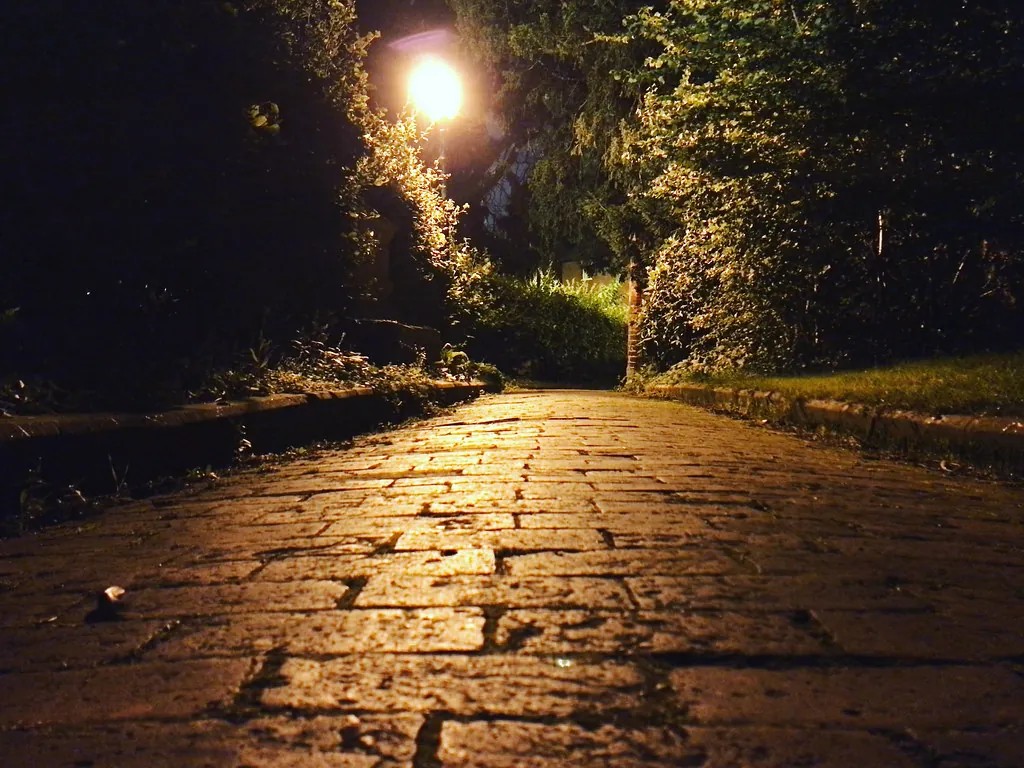
Why spacing depends on the fixture
There is no single correct number because the fixture decides how big each pool of light is. Three things matter most:
- Height. A taller path light throws a wider circle, so you can space it farther apart.
- Hat or shade size. A wide hat spreads light downward and outward; a narrow one makes a tighter pool.
- Output. A brighter lamp makes a bigger pool but can also cause glare if it is too strong.
As a rough guide, many path lights light a circle on the ground about as wide as two to three times their height. A 20-inch fixture might create a pool around 4 to 6 feet across. Space fixtures so those pools meet, and you will land in the 6 to 10 foot range for most walks.
| Situation | Typical spacing | Placement | Notes |
|---|---|---|---|
| Straight front walk | 8 to 10 ft | Staggered or one side | Lean on facade and tree light to fill in |
| Curving garden path | 6 to 8 ft | Outside of each curve | Highlights the shape and guides the eye |
| Narrow side yard path | 8 to 12 ft | One side | Low-profile or wall-mounted fixtures work well |
| Wide walk (5 ft or more) | 8 to 10 ft | Staggered both sides | Keeps both edges readable |
| Driveway edges | 12 to 20 ft | One or both sides | Tighter at curves and entrances |
| Steps | One per 1 to 3 risers | In risers or side walls | Light every change in level |
Stagger vs one side
The most common mistake is lining both sides of a walk with identical lights directly across from each other. It reads as an airport runway, and it uses twice as many fixtures as needed.
Staggering places fixtures on alternating sides, so the light zigzags gently down the walk. It looks natural and lights both edges with fewer fixtures.
One side only works on narrow paths, along a wall or fence, or where the other side is already lit by uplights, porch lights or moonlighting from a tree. On many Texas front yards, a large live oak with a couple of downlights in it does a lot of the path lighting for free.
Glare and the runway look
Path lights should be felt more than seen. To keep them comfortable:
- Choose fixtures with a hat or shroud that hides the lamp from normal eye level.
- Use modest output. A few watts of LED is plenty for most walks.
- Avoid perfectly even spacing on curving walks; follow the shape of the bed.
- Do not try to light the whole yard with path lights. Let them do their job and use other techniques for the rest. Our guide to landscape lighting techniques covers the options.
- Keep the color temperature consistent with the facade, usually 2700K. See warm white vs cool white.
Tip: Plants grow. In a new bed, place path lights where they will stand above the mature height of nearby groundcovers and low shrubs, or plan for lights that can be raised later. Lantana and Texas sage can swallow a path light in one summer.
Driveway lighting spacing
Driveways are about orientation more than footing. Drivers need to see the edges, curves and the entry, not a fully lit slab. Common approaches:
- Edge markers or low bollards every 12 to 20 feet, on one or both sides.
- Tighter spacing at the street entrance, curves, gates and the turnaround.
- In-grade lights set into the pavement edge where fixtures would be clipped by tires.
- Downlights from trees along long drives, which light a wide area with few fixtures.
On acreage in the Hill Country or outside Fort Worth, long drives often get markers only at curves and the entrance, with the house and trees providing the arrival moment. Our pathway and driveway lighting service covers layouts like these.
Step and stair lighting
Every change in level deserves light. For outdoor steps:
- Recessed riser lights on every step for short runs, or every second or third step on long, shallow flights.
- Side-wall or cheek-wall lights where steps sit between retaining walls.
- A path light at the top and bottom of steps if hardscape lights are not practical.
- Aim light down onto the tread so the edge is clear without shining in anyone's eyes.
Pool decks and sloped lots are where step lighting matters most. See our patio and pool lighting service for hardscape fixtures built into stone and concrete.
A simple math example
Here is how path light spacing works out on a typical front walk.
Measure the walk
Say the walk runs 48 feet from the driveway to the front porch, with one gentle curve.
Choose the spacing
With 20-inch fixtures that make pools roughly 5 to 6 feet wide, an 8-foot spacing lets the pools nearly touch. 48 divided by 8 equals 6 intervals.
Count the fixtures
Six intervals means about 6 fixtures, staggered on alternating sides. Drop one near the porch if the porch light already covers that end, or add one at the curve if it falls between fixtures.
Check the load
Six LED path lights at about 3 watts each is roughly 18 watts, a small fraction of a typical transformer. Use the transformer sizing calculator to add it to the rest of the system.
Confirm at night
Set fixtures in place temporarily, look after dark from the street and the porch, and nudge positions until the pools read as a gentle rhythm rather than a row.
Notice that the answer was 6, not 12. Matching pairs on both sides would have doubled the cost and created the runway look. For a quick fixture count across the whole property, try the fixture estimator.
Texas yard notes
Local conditions nudge path light layouts in a few predictable ways:
- Master-planned neighborhoods: in suburbs like Katy and Frisco, front walks are often short and straight, with a strong porch light. Three or four staggered fixtures plus a lit facade is usually enough.
- Hill Country lots: limestone steps, terraced beds and sloped walks call for more step and hardscape lights and fewer stake-mounted path lights, which can be hard to anchor in rock.
- Gulf Coast yards: heavy rain and sprinklers mean path lights should sit slightly above grade in well-drained beds, not in low spots where water stands.
- Clay soils: North Texas clay heaves and shrinks, so path light stakes can lean over time. A firm stake, a little gravel at the base and an annual check keep them upright.
Watch out: Path lights near the walk edge are the fixtures most often hit by mowers, edgers and feet. Set them back into the bed, use sturdy metal stems and keep the wire buried, not draped across the lawn.
Getting path light spacing right on your property
Rules of thumb get you close, but the final call is always made after dark, with the real fixtures, from the places people actually stand. That is why we finish every install with an adjustment visit at night. If you would like a layout for your walks, drive and steps, we will plan it with you on site.