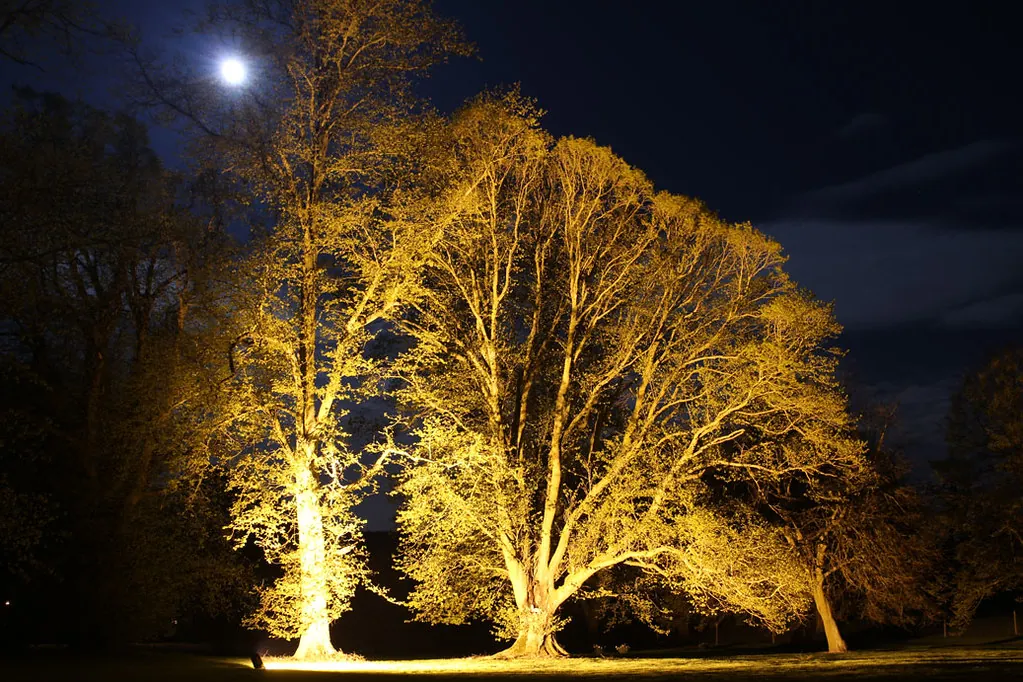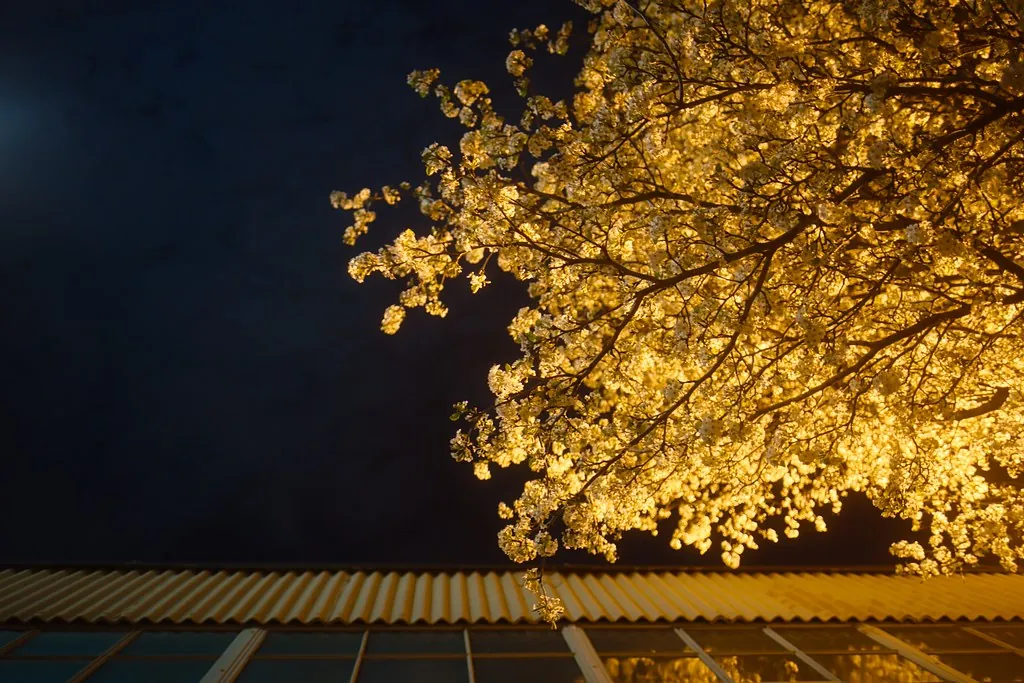
If you are wondering how to uplight a tree so it looks dramatic instead of washed out, the answer comes down to four choices: how many fixtures, which beam angle, how bright and exactly where they sit. Trees are the single most rewarding thing to light in a Texas landscape. A mature live oak or pecan, lit well, becomes a sculpture at night and gives the whole yard depth. Lit poorly, it turns into a flat bright smudge with a dark top.
This guide walks through the numbers we use as starting points, then covers specific Texas trees, moonlighting, safe tree mounting and protecting roots.
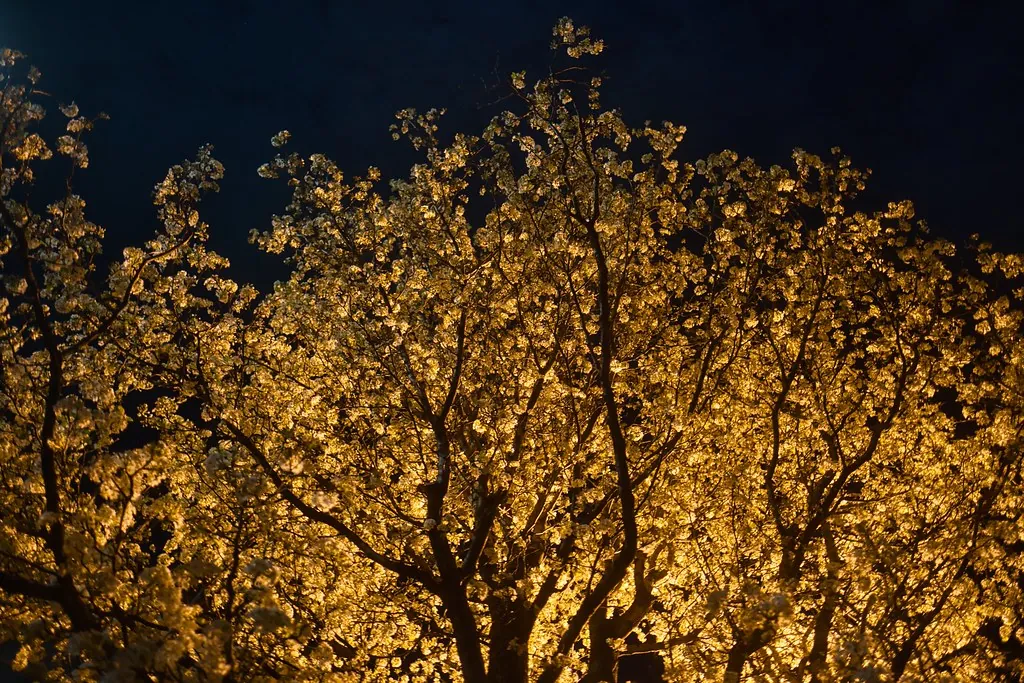
How to uplight a tree: the basics
- Decide what to show. The trunk, the canopy or both. Many trees need both, with different fixtures.
- Light from where people look. Put fixtures on the viewing side: the street, the patio or the main windows.
- Use more than one angle. Two or more fixtures add dimension; one fixture often looks flat.
- Hide the source. Tuck fixtures into beds or behind shrubs, and use glare shields.
How many fixtures by canopy size
Use canopy spread and height to set a starting fixture count. Then adjust for how many sides the tree is seen from.
| Tree size | Typical example | Uplights | Beam angle | Approx. output per fixture |
|---|---|---|---|---|
| Small, under 15 ft | Crape myrtle, Japanese maple, yaupon | 1 to 2 | 35 to 60° | 100 to 250 lumens |
| Medium, 15 to 30 ft | Cedar elm, young live oak, magnolia | 2 to 3 | 25 to 45° | 200 to 400 lumens |
| Large, 30 to 50 ft | Mature pecan, Texas red oak | 3 to 4 | 25 to 45° | 300 to 600 lumens |
| Very large, 50 ft+ spread | Heritage live oak | 4 to 6, plus downlights | Mix of 25 to 60° | 400 to 800+ lumens |
| Palms | Sabal, Mexican fan palm | 1 to 2 per palm | 10 to 25° | 200 to 500 lumens |
Tip: These outputs are starting points. A tree in a dark rural yard needs far less light than one competing with streetlights in a Dallas or Houston neighborhood. Adjustable or dimmable fixtures make the final balance easy.
Beam angles explained
The beam angle decides how high and how wide the light travels.
- Narrow (10 to 25°): punches light high. Use for tall palms, tall trunks and columnar trees.
- Medium (35 to 45°): the workhorse for most shade trees, lighting the trunk and the lower and middle canopy.
- Wide (60° and up): fills broad, low canopies and small ornamental trees from close range.
Large trees often benefit from a mix: a narrow beam reaching into the upper canopy plus a wider one filling the lower branches.
Placement distance from the trunk
Where you place a fixture changes the whole look.
Grazing the trunk
Set the fixture about 1 to 2 feet from the trunk and aim nearly straight up. This shows bark texture beautifully on live oaks, palms and crape myrtles.
Lighting the canopy
Move out roughly a third to halfway from the trunk toward the drip line, then tilt up into the branches. This lights the underside of the canopy and gives the tree volume.
Cross lighting
Place two or three fixtures around the tree, roughly 90 to 120 degrees apart, favoring the main viewing sides. This removes the flat look and shows the tree as a three-dimensional form.
Aim and refine at night
Fine-tune tilt and rotation after dark. Small changes in aim can move a hot spot off the trunk or bring light up into a dark crown.
Lighting popular Texas trees
Graze, cross light and moonlight
Wide, low, sprawling limbs mean uplights should sit under the canopy aimed along major limbs, not just at the trunk. Big specimens are ideal for moonlighting from above.
Reach for height
Tall and open, pecans need narrower beams and more output to reach the upper canopy. Two to four uplights from different sides work well.
Show the fine texture
Small leaves and a graceful vase shape light nicely with medium beams placed a few feet out. Bare winter branches look striking too.
Feature the bark
Graze the smooth, multi-trunk stems from close range with warm light. One or two fixtures are usually enough.
Plan for fall color
Medium beams into the canopy show off fall color. Warm 2700K light makes the reds glow.
Light the outside
The dense, glossy canopy blocks light from below. Place fixtures farther out and aim at the outer leaves, or silhouette the shape against a lit wall.
Narrow and close
One or two narrow-beam fixtures at the base graze the trunk and reach the fronds. Tall Mexican fan palms need enough output to reach the head.
Celebrate the twist
Gnarled, open branches are ideal for cross lighting and shadowing. Keep output modest so the feathery canopy stays delicate.
Moonlighting: lighting from above
Moonlighting places downlights high in a large tree, often 20 to 35 feet up, so light filters through the branches and paints soft, moving shadows on the lawn, walk or patio below. It is the most natural-looking effect in landscape lighting, and it doubles as path and security light. It works best on sturdy, open trees like mature live oaks and pecans. Combine two or three moonlights with uplights for a tree that glows from within and lights the ground around it. Learn more about how it fits with other approaches in our landscape lighting techniques guide.
Mounting fixtures in trees safely
Tree-mounted fixtures should never harm the tree. Good practice includes:
- Corrosion-resistant mounting hardware sized for the limb, installed with as few fasteners as possible.
- Wire run along the trunk with slack loops at each attachment so the tree can grow without strangling the wire.
- Never wrapping wire, straps or ties tightly around a trunk or limb.
- Using a mounting approach that can be loosened and adjusted as the tree grows.
- Choosing healthy, structurally sound limbs, ideally with guidance from an arborist on older trees.
- Periodic checks so mounts and wire do not become embedded in bark.
Oak wilt caution: Fresh wounds on oaks can attract the beetles that spread oak wilt. Texas guidance generally advises avoiding wounding oaks from February through June and sealing any unavoidable wounds right away. Plan tree-mounted work on live oaks and red oaks with that window in mind.
Protecting roots during installation
Most feeder roots sit in the top foot or so of soil, often well beyond the drip line. To protect them:
- Hand-dig shallow, narrow trenches under the canopy instead of using a trencher.
- Run wire radially toward the trunk where possible, which crosses fewer roots than a path around it.
- Route around large roots rather than cutting them; slip wire beneath roots when needed.
- Keep vehicles and heavy equipment off the root zone.
- Place fixtures on stakes in mulch or beds rather than cutting into root flare.
Common uplighting mistakes
- Using one bright fixture aimed at the trunk, leaving the canopy dark.
- Placing fixtures on the side no one sees.
- Choosing beams too wide for tall trees or too narrow for broad ones.
- Over-lighting so the tree loses its texture and the neighbors get glare.
- Mixing color temperatures on the same tree. See warm white vs cool white.
For a quick count of the fixtures your trees need, try the fixture estimator, and see our tree and garden lighting service for what a full design includes. Homeowners in San Antonio and The Woodlands, with their big oaks and pines, often start here.
Keeping tree lighting looking right
Trees change every year, so tree lighting needs a little attention. Canopies fill in and lift, shrubs grow over fixtures and storms shift aim. Plan a quick check each spring and fall: clear plants away from lenses, re-aim fixtures that have been bumped, and loosen tree mounts or add slack where the trunk has grown. As a tree matures, you may need a narrower beam or a little more output to keep reaching the upper canopy. Our landscape lighting maintenance checklist covers the full routine.
Seeing it on your own trees
Now you know how to uplight a tree on paper, but every tree is a little different in shape, density and setting. A night demo lets you see placement and brightness on your own trees before anything goes in the ground.